Infinite garlic
Zucchini’s seasonal appeal is beginning to wane. Roasted, stewed, stir-fried, and baked into cakes, it has appeared in nearly every meal for several weeks now. It’s typically around this time that I know our next seasonal crop is ripe for the plucking. A pungent, must-have ingredient in every pantry. It was prized by the ancient Egyptians, is loved by chefs and home cooks, and was reviled by Dracula. It’s garlic.
We grow a mix of ‘German Red’ and ‘Russian Red,’ both hardneck varieties. Hardneck garlic is exceptionally cold-hardy and produces strong, winding flower stalks in early summer, followed by four to six meaty, easy-to-peel cloves in each bulb later in the season. The flower stalks, or scapes, are a delicious, garlic-flavored vegetable that we enjoy in stir-fries and roasted in the oven with a little olive oil. Think of a garlic-flavored green bean.
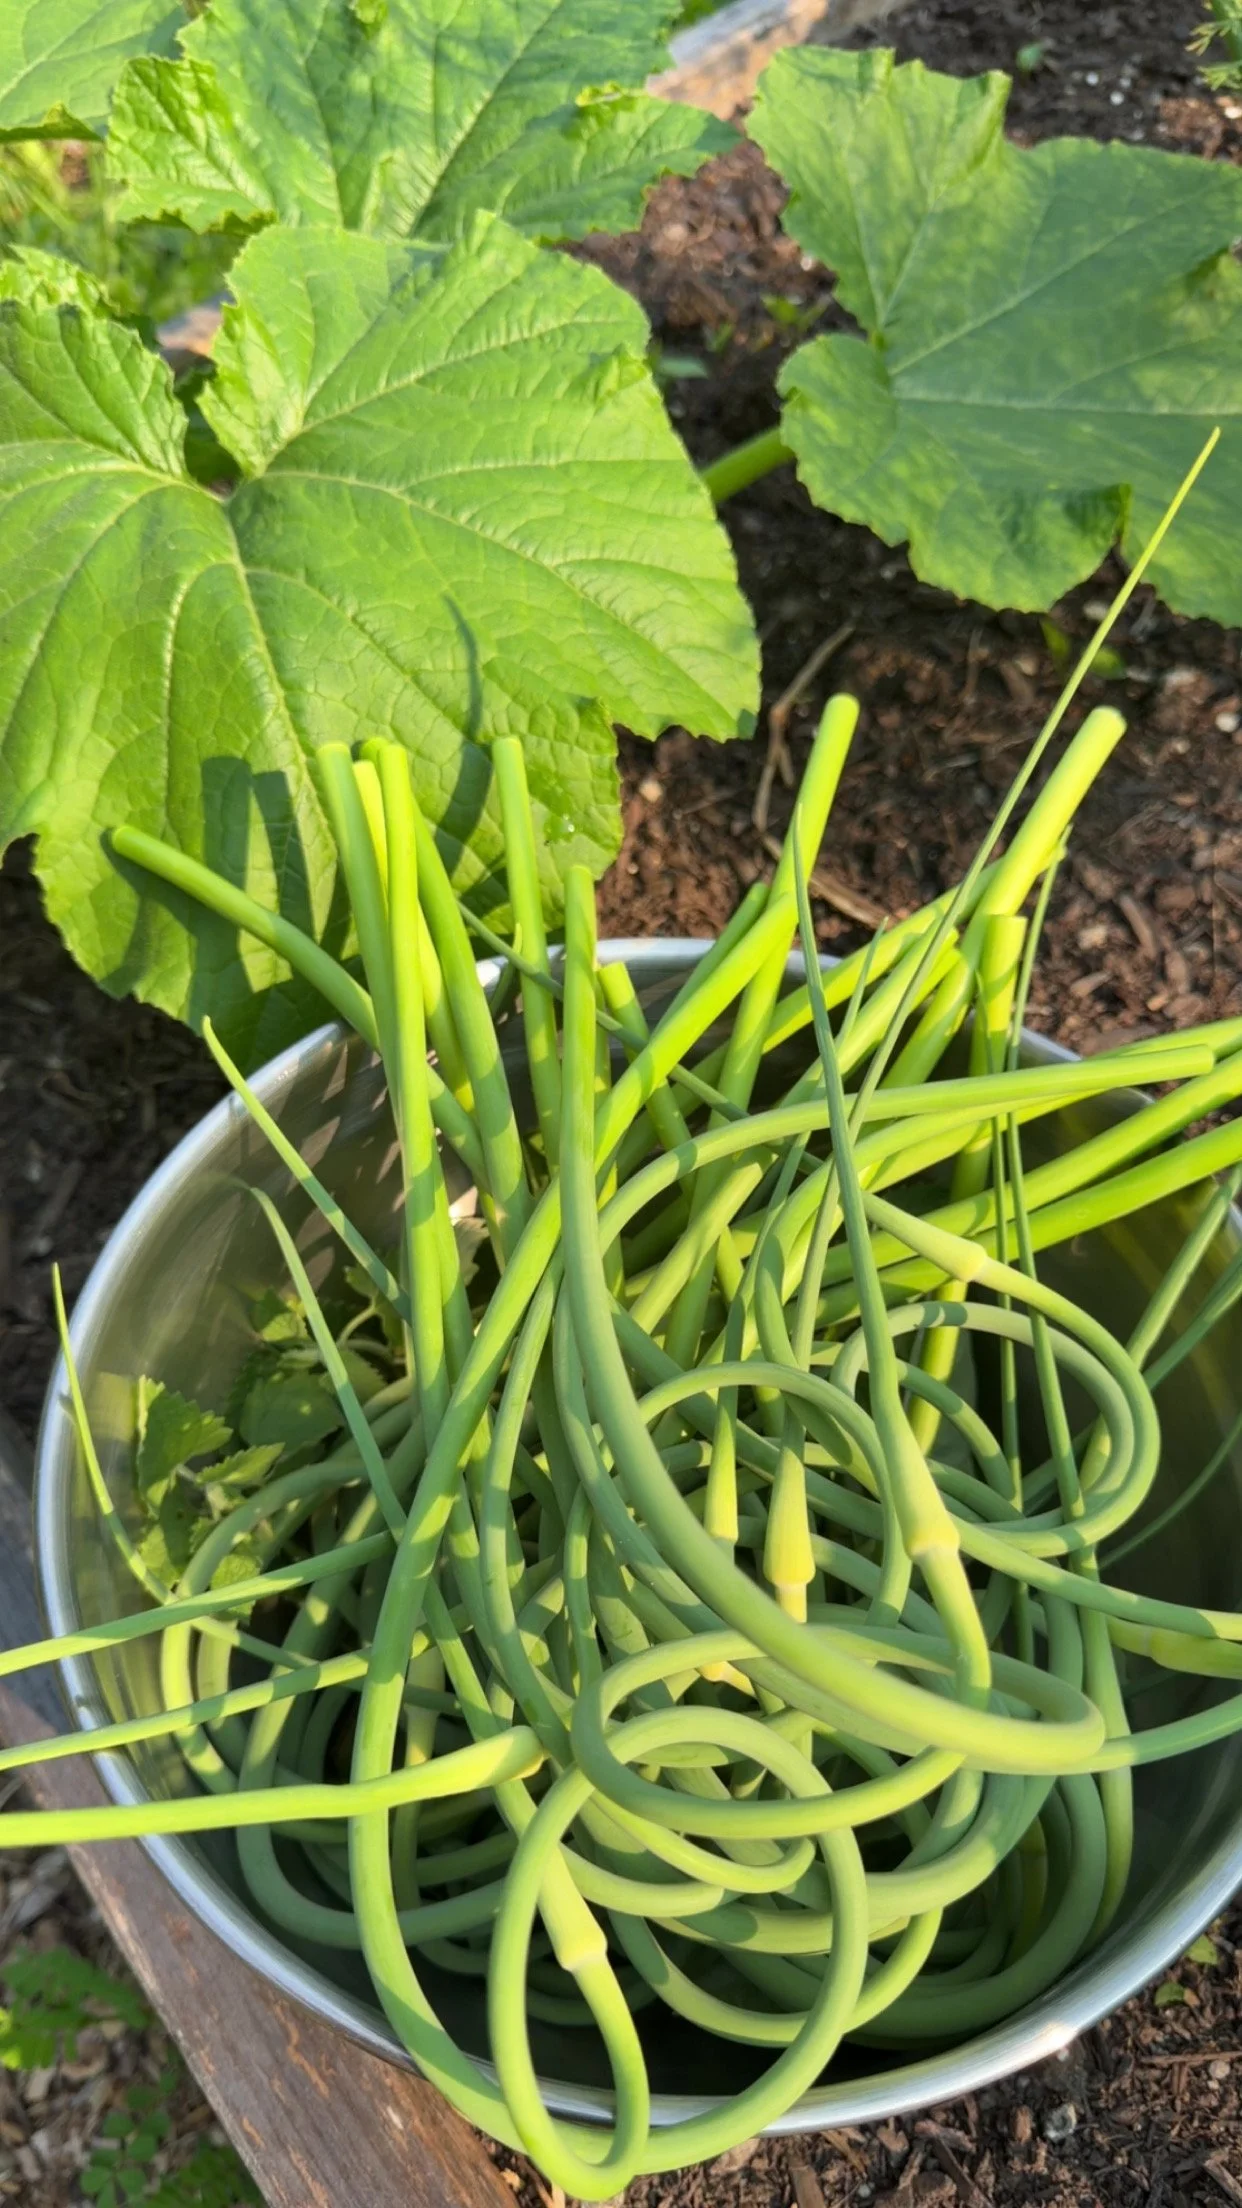
Scapes are a tasty garlic-flavored vegetable we enjoy at the end of June - beginning of July.
In our northern climate, the scapes are typically ready to harvest around the summer solstice or shortly thereafter. You will know they’re ready when they have made a revolution or two. They are most tender at this stage. If allowed to continue developing, they will eventually straighten and become unpleasantly woody. Left in place even longer, the scapes will form round, light-purple or pink flower heads. These are beautiful and attractive to pollinators, but allowing the scapes to mature also diverts some of the plant’s energy away from the developing bulb, potentially resulting in smaller cloves. We therefore pick all our garlic scapes after they have made one or two revolutions. To harvest them, I gently pull upward, taking care not to damage the stalk or uproot the garlic bulb. I continue pulling until the scape breaks free.
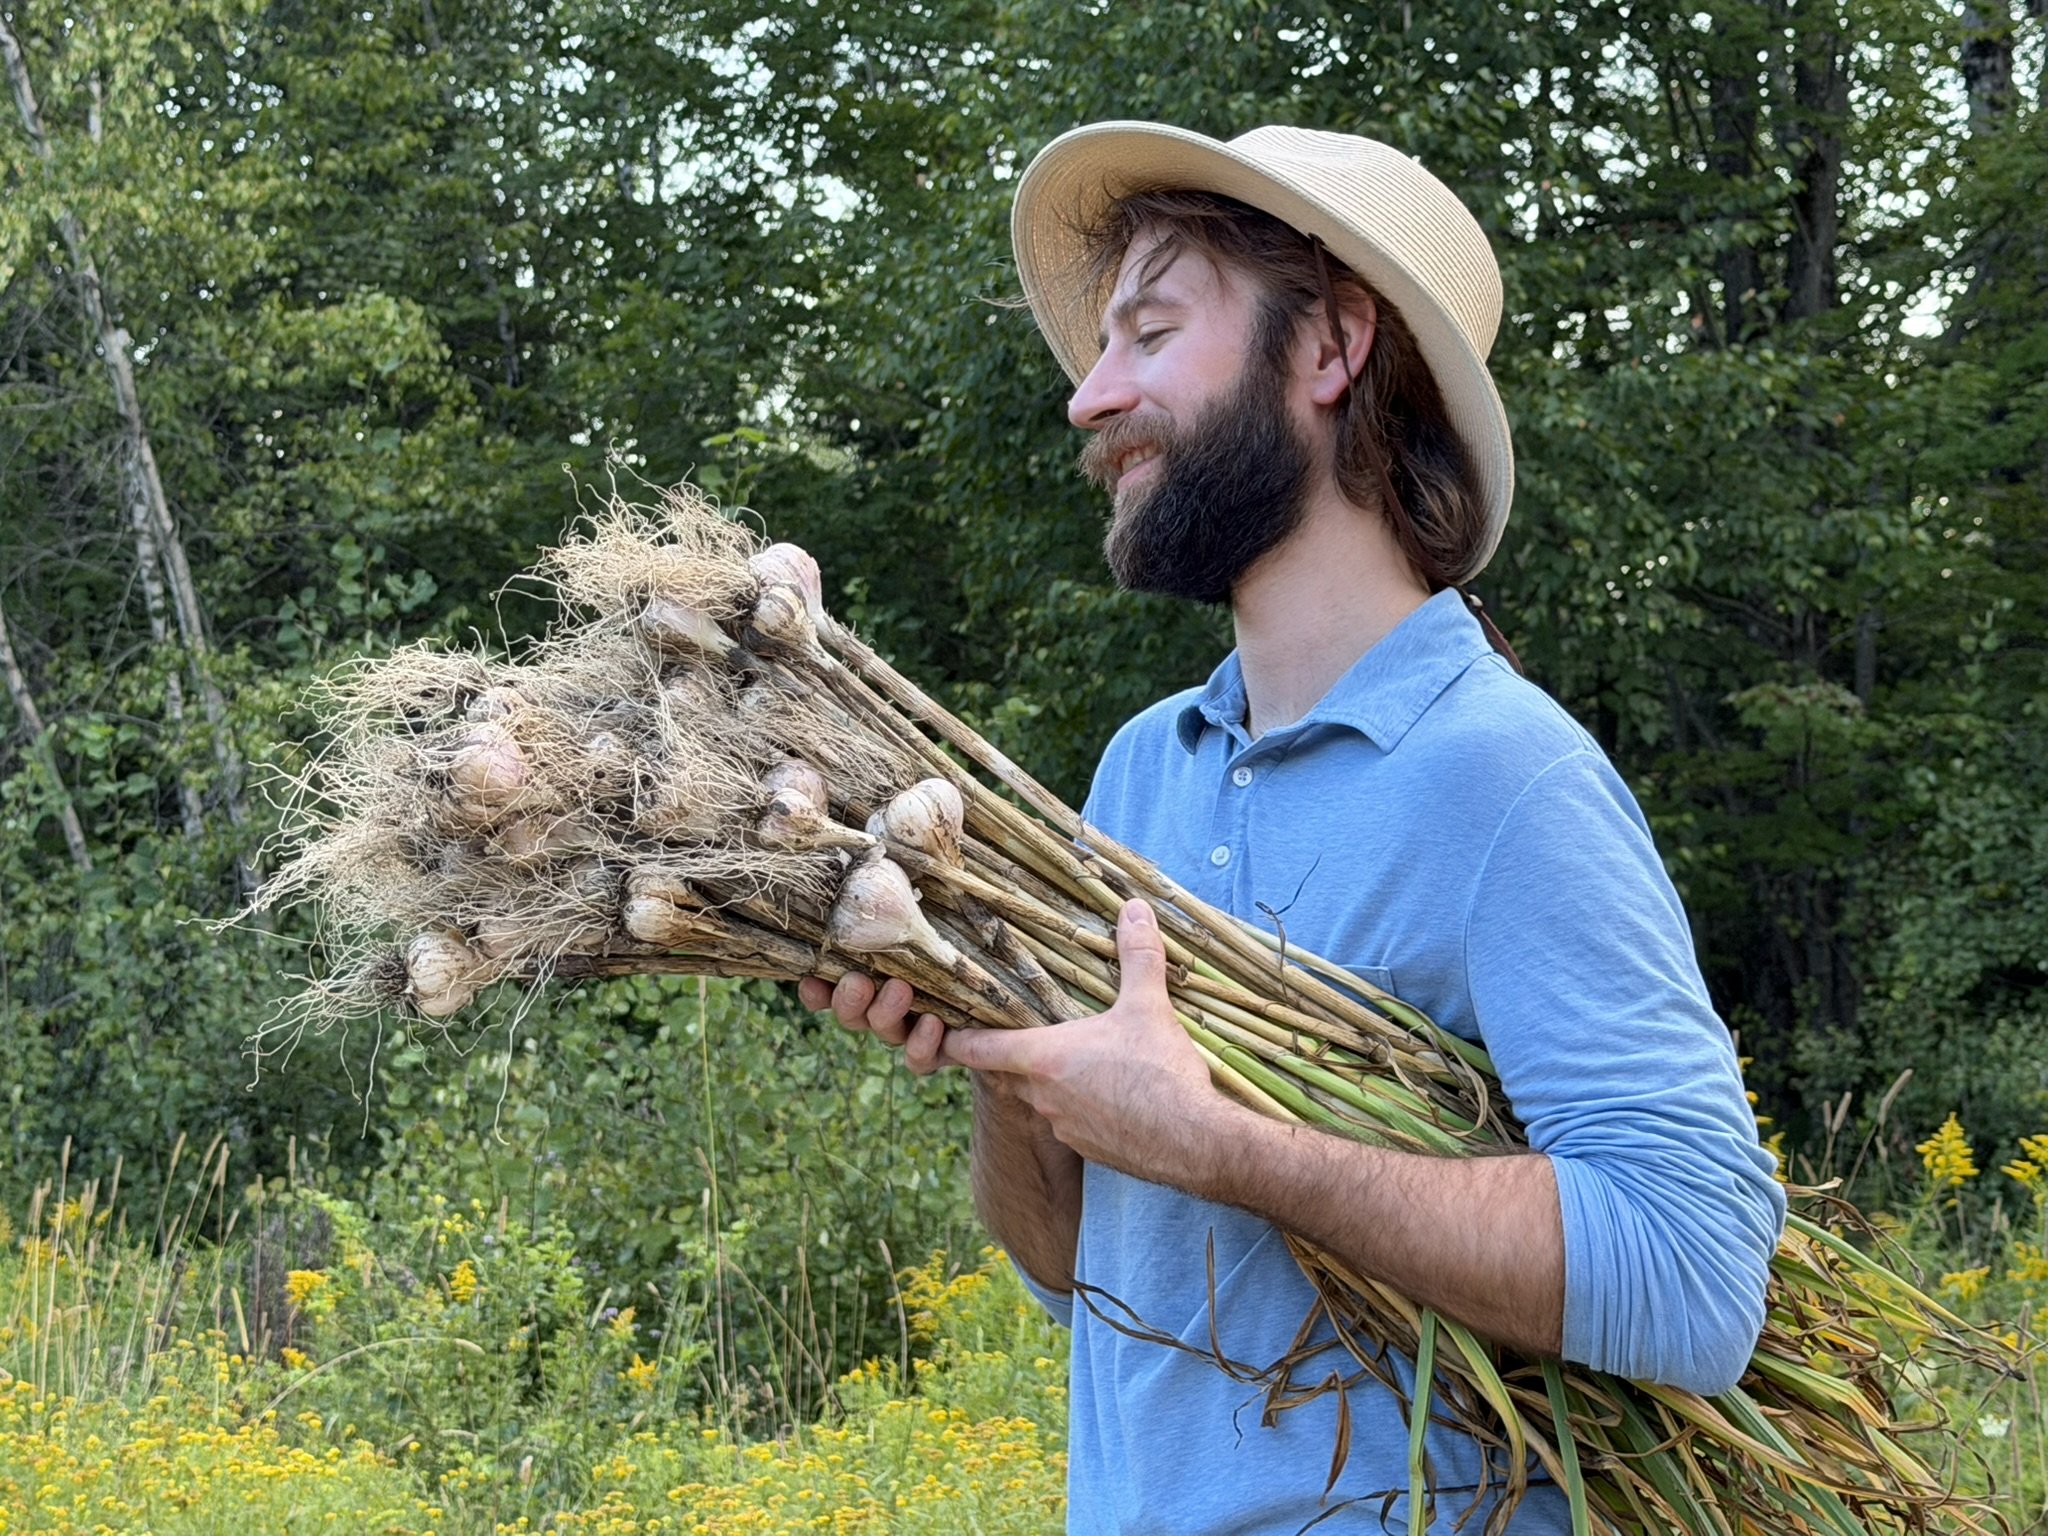
The next garlic harvest is happening now. This is when we pull the bulbs, select next year’s crop, and cure the remainder for storage through the winter and into the coming year. Rather than using a specific date to determine when it’s time to harvest, I keep an eye on the lower leaves of the garlic plants. When the two or three sets of leaves closest to the ground have browned and dried, I know the bulbs have developed several layers of protective, papery skin. Each set of leaves corresponds roughly to a layer of wrapper around the bulb.
I try to harvest while the tops of the plants are still green. This helps the garlic cure properly and ensures that the papery wrappers around the bulbs remain intact. If I wait until the plants have turned completely brown and dry, the wrappers may crack or deteriorate, shortening the garlic’s storage life. When harvested, cured, and stored properly, our garlic can last well into the winter and, in especially good conditions, beyond.
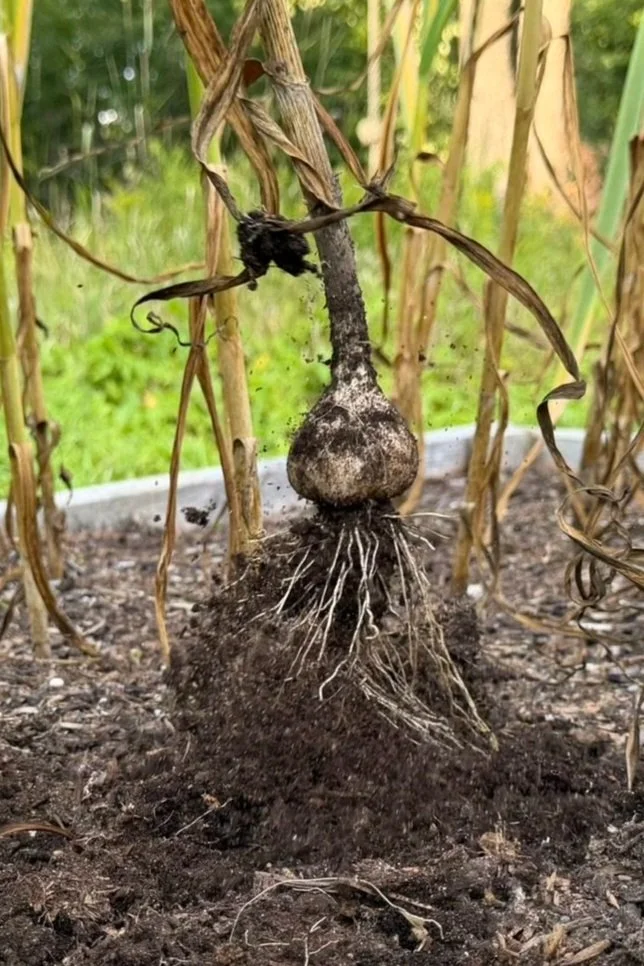
Harvesting the bulbs.
This year, I pulled our garlic from raised beds filled with loose, compost-rich soil. The earth was workable enough that I did not need to tease out the bulbs with a garden fork, although that has been necessary in the past when I planted them in tilled ground. Grasping each plant firmly by the stalk near the soil’s surface, I pulled straight upward, releasing the bulb and its roots from the bed. Immediately, the air filled with the sharp aroma of fresh garlic. I carefully placed each plant in a wheelbarrow, making sure the bulbs were not bruised or otherwise damaged. Once the garlic was harvested, I gently brushed the dirt from the bulbs with an old boar bristle brush. Steel bristles, and even stiff nylon ones, could damage the papery wrappers. I have found that boar bristles are stiff enough to remove stubborn soil yet gentle enough to keep the protective layers intact.
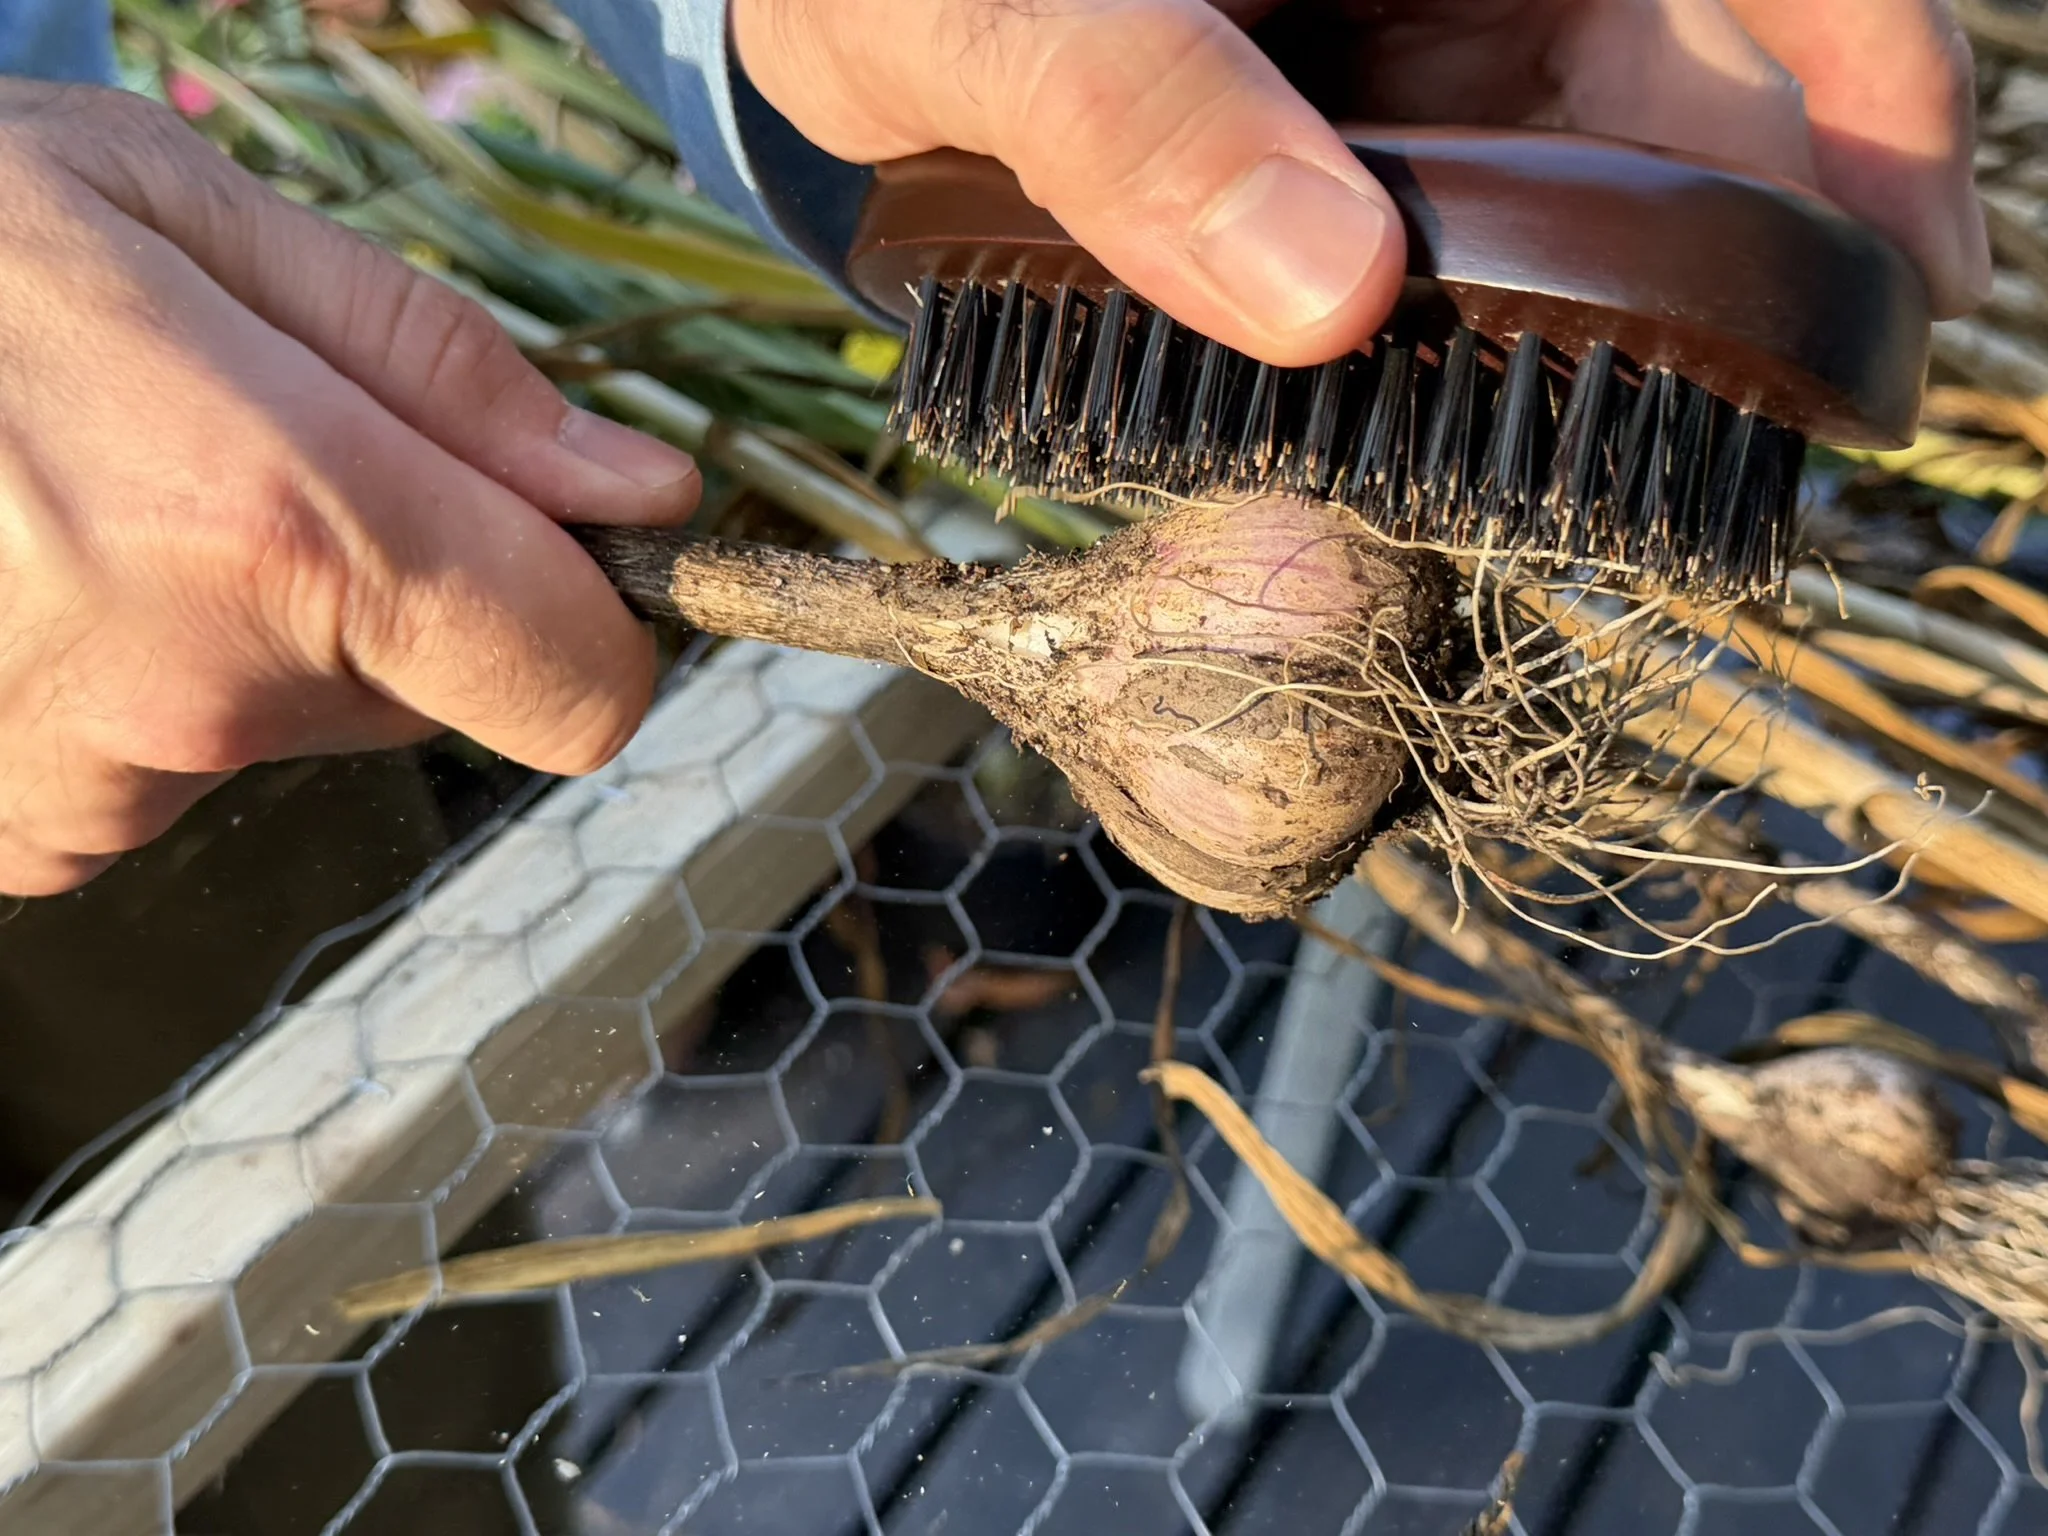
Removing some of the soil with a boar hair brush, careful not to damage the bulb.
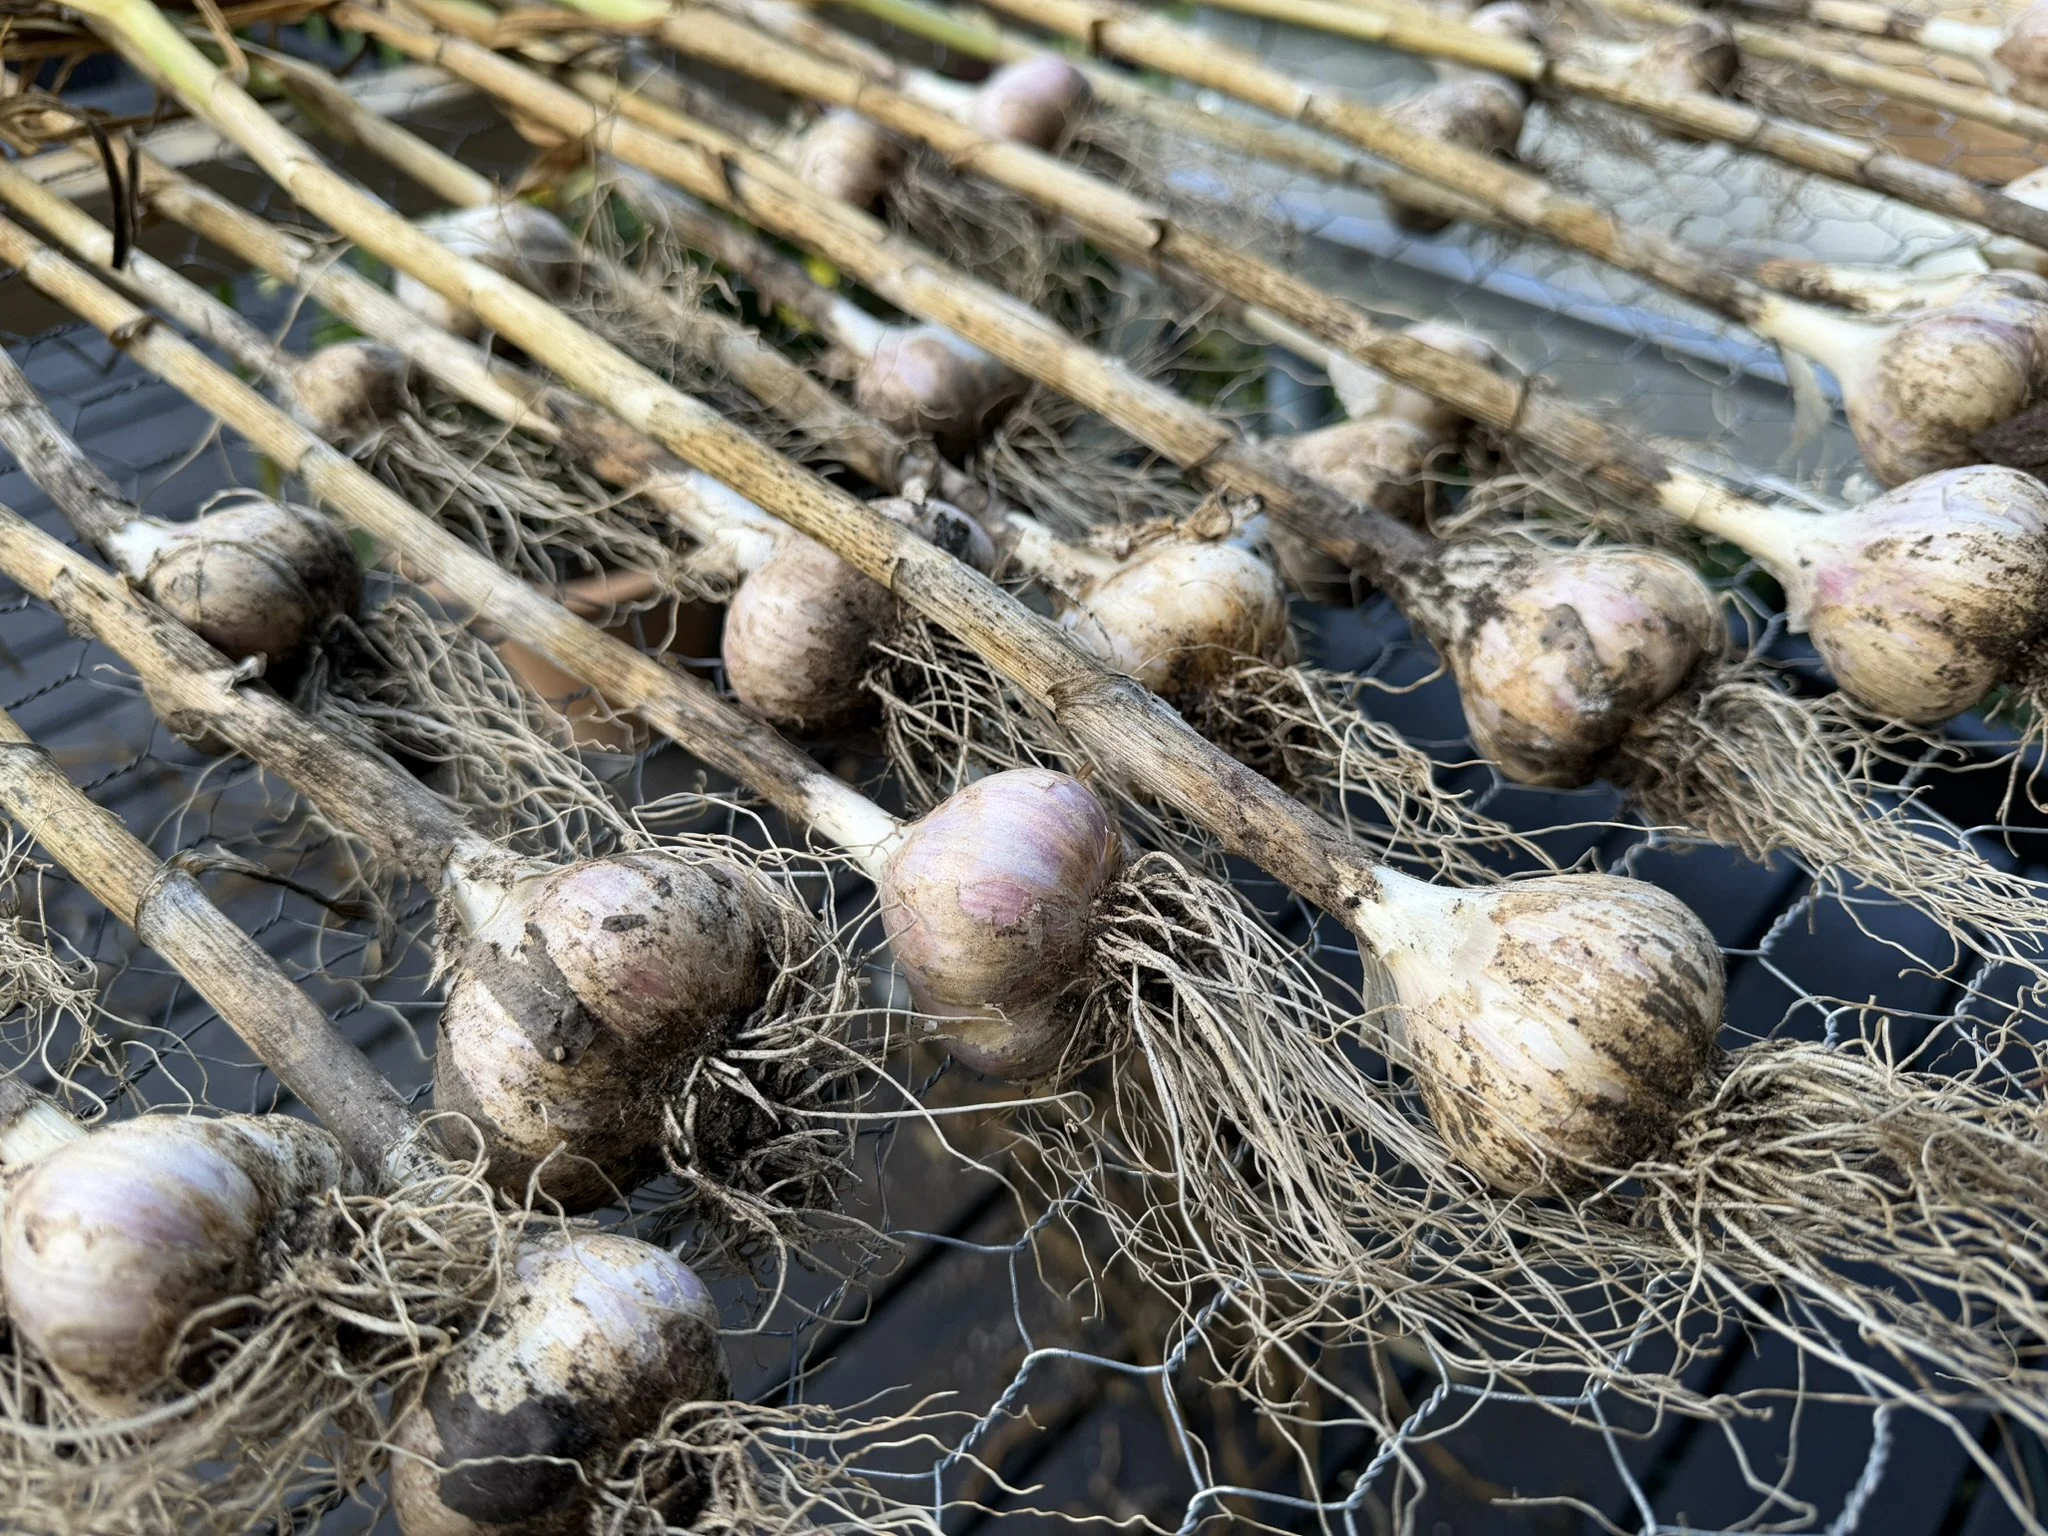
Reasonably clean, I placed the bulbs on a simple curing rack made from 1x1 inch lumber and chicken wire. An old window screen or another sturdy piece of wire mesh could serve the same purpose. The goal is to keep air moving around the bulbs while protecting them from rain and direct sunlight, allowing them to dry gradually for long-term storage. The rack can be placed in a garage, beneath a covered porch, or in another dry, sheltered area with plenty of airflow.
When the stalks are cracker dry, meaning they snap when bent, the roots can be clipped with a pair of scissors and the stalks shortened to just above the tops of the bulbs. The bulbs can then be slipped into paper sacks. I avoid plastic and other materials that may hold moisture, as trapped moisture can encourage rot and shorten their storage life. I place the sacks of garlic in a cool, dry part of our basement. While bagging the garlic for storage, I set aside the largest, healthiest bulbs for fall planting. These will produce next year’s scapes and garlic crop. We typically plant garlic during the first week of November. I aim for some time after a hard, killing frost but before the snow begins to fall.
To plant, I dig a trench about six inches deep, then place the cloves pointed end up and about 10 inches apart. Garlic appreciates fertile, well-drained soil, so I amend the bed with plenty of well-rotted manure before digging the trench. Once the cloves are in place, I cover them with soil and spread a few inches of straw or another loose mulch over the entire bed for added winter protection. Some of this protection can be raked away in the spring as the shoots emerge.
Most of the harvested bulbs are bound for soups, pasta, mashed potatoes, holiday meals, and an untold number of other dishes. A carefully chosen few remain in reserve, and in a couple of months, they will be divided and returned to the ground. By the time last year’s soil is brushed from this year’s bulbs, I am already setting aside the beginnings of next year’s harvest.